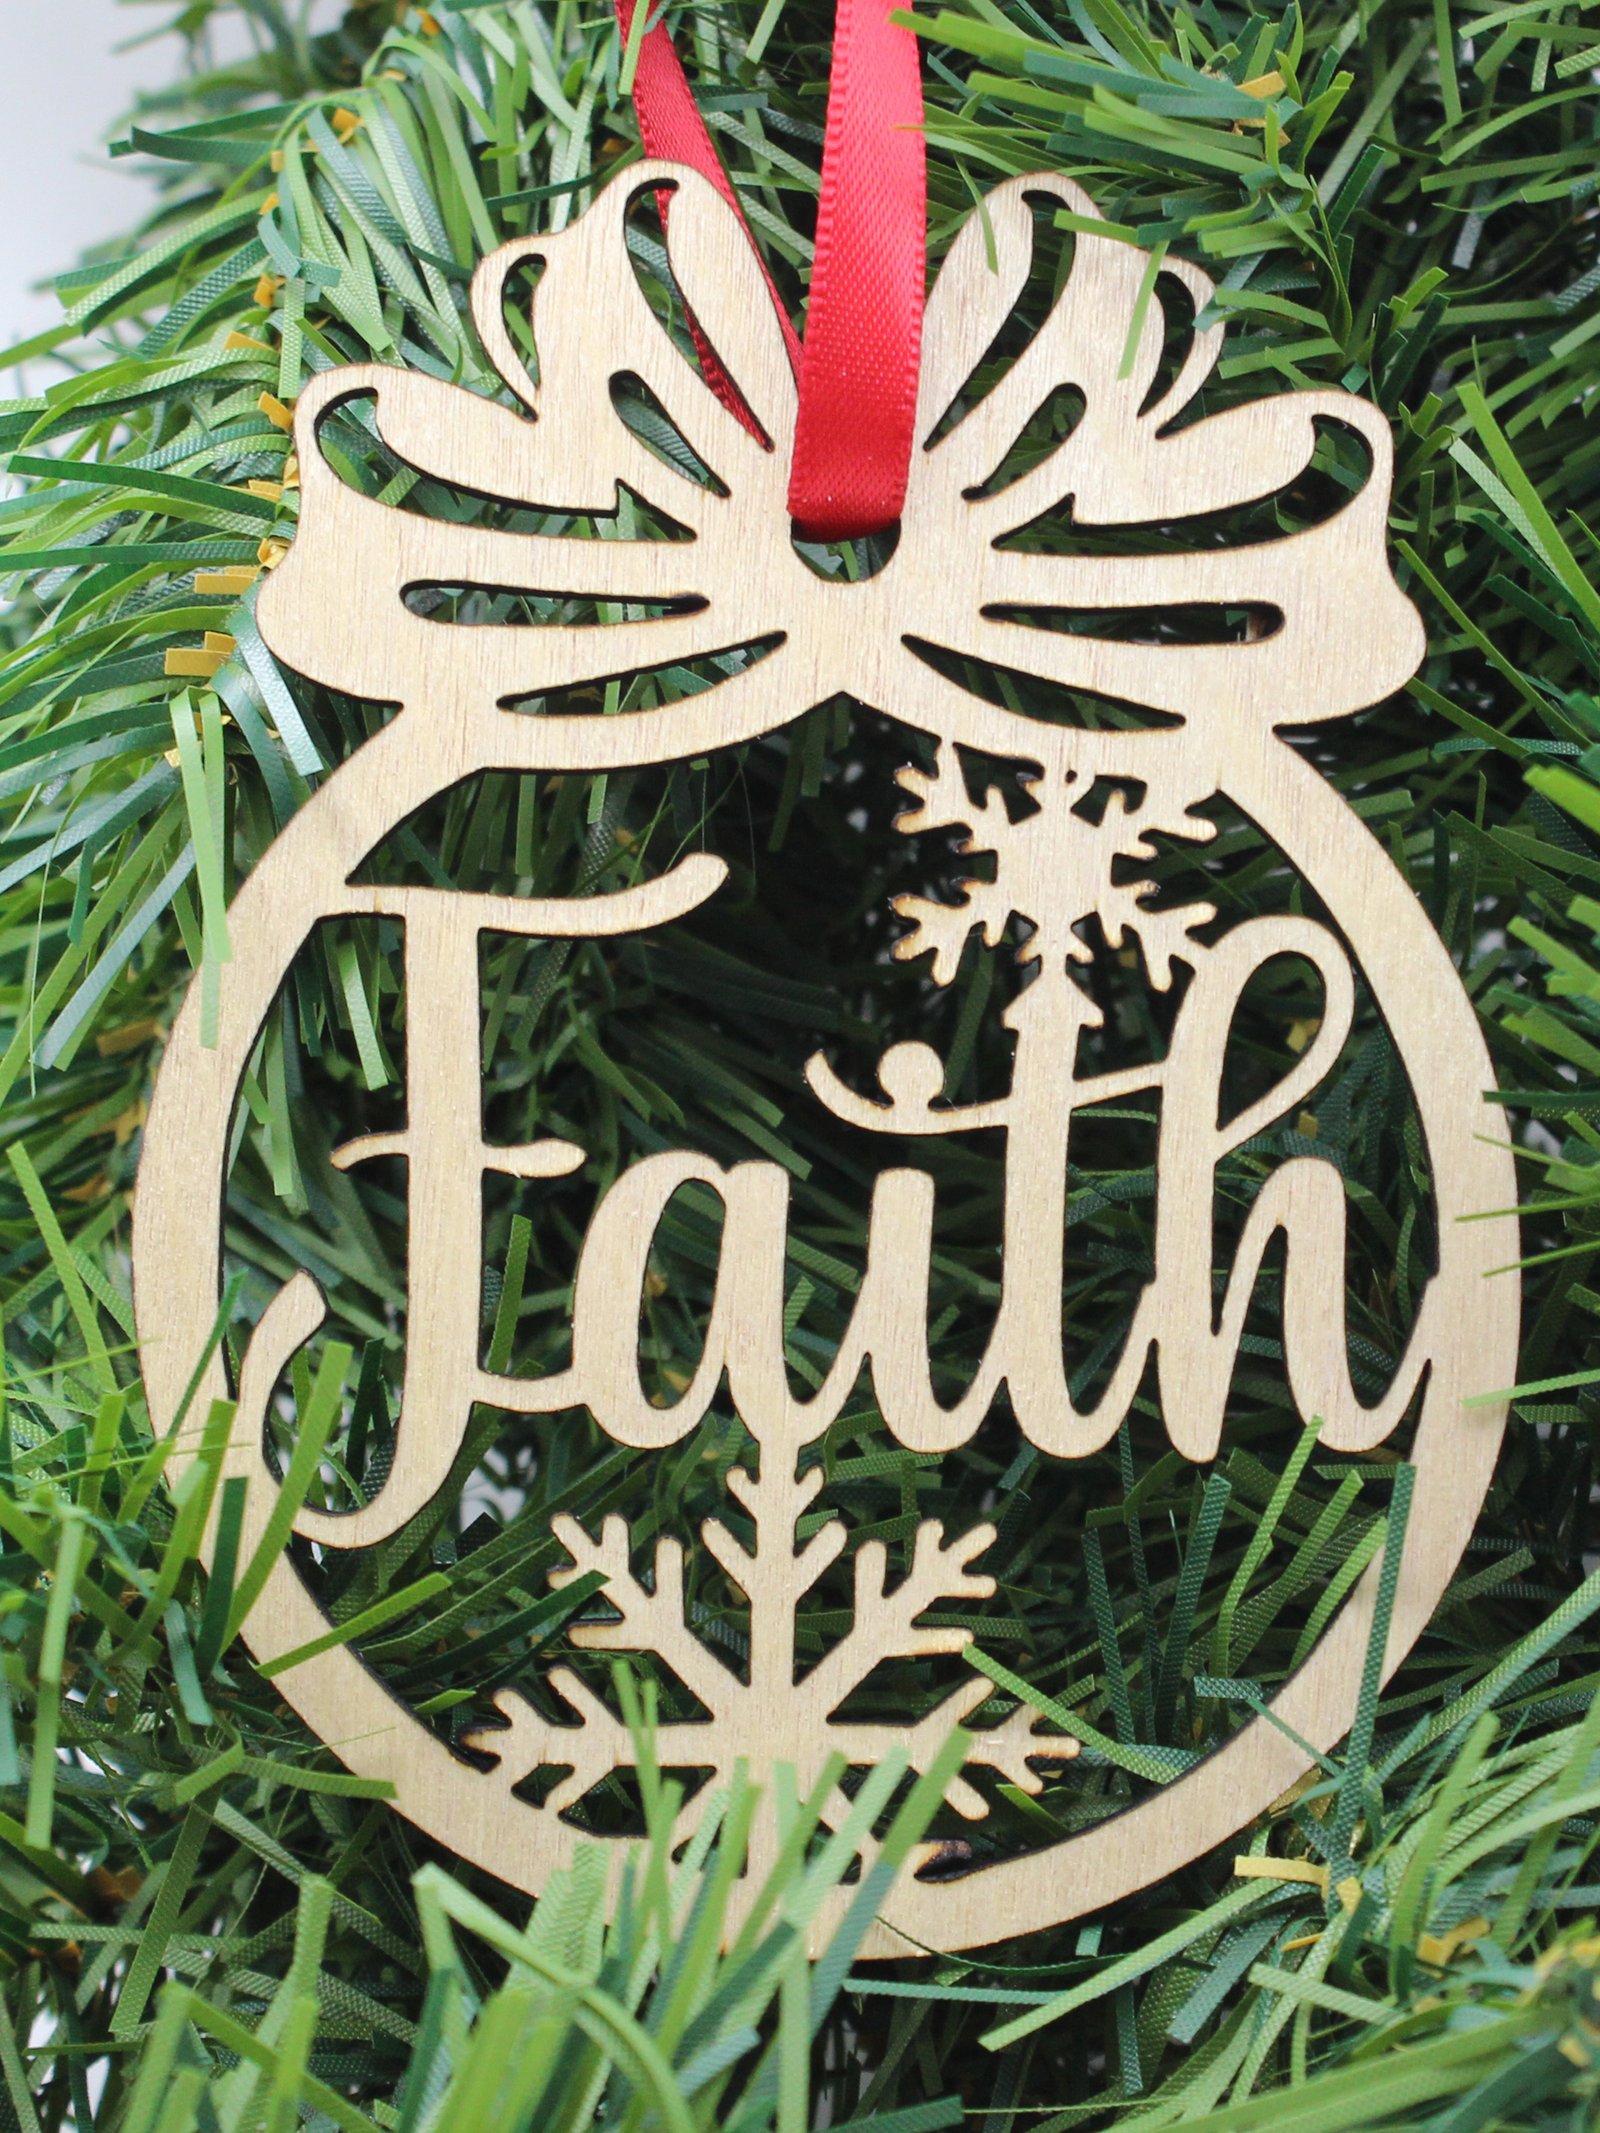

The holiday season is all about creating lasting memories with those we love. What better way to celebrate than with DIY ornaments that carry special meanings of faith, hope, and family? These wooden laser-cut ornaments are not only simple to make, but they also make a big impact when it comes to decorating your tree. Plus, they’re the perfect way to add a personal touch to your home this holiday season!
In this post, I’ll show you how to craft your very own family-themed wooden ornaments that bring warmth, beauty, and meaning to your festive decor.
Why Family-Themed Ornaments?
The holidays are a time to reflect on the things that matter most, and what’s more meaningful than celebrating faith, hope, and family? Wooden ornaments, especially when laser-cut with care, make a wonderful, timeless addition to your tree. They can represent anything—from family traditions to special moments—and can easily become heirlooms passed down through the generations.
DIY Wooden Ornaments: How to Craft Your Own
These ornaments are incredibly simple to create, yet they carry so much significance. Let’s dive into the steps!
Materials You’ll Need:
- 3mm Plywood – Lightweight yet sturdy, perfect for intricate designs.
- Clear Finish – Optional, but it helps preserve the wood and ensures a smooth finish.
- Laser Cutter – I used the XTool M1 10w, but any similar cutter will work.
- Ribbon, Jute, or Twine – Choose your favorite style for hanging.
Step 1: Prepare Your Plywood
Start with a sheet of 3mm plywood. This thickness is ideal because it’s light enough to cut with precision but sturdy enough to hold up as an ornament. Before you begin cutting, you can get creative by painting or staining the wood—perhaps a rich brown stain for a rustic look or a colorful rainbow pattern for something a little more vibrant. This is where you can really personalize your project!
Once your stain or paint has dried, I recommend adding a clear finish to ensure durability. This step may seem like an extra task, but it’s important because it protects the surface from wear and keeps the wood looking polished. Trust me, it’s worth the extra effort to achieve a smooth and lasting result.
Step 2: Cutting with the Laser
Now comes the fun part: cutting out the ornaments! I used the XTool M1 10w laser cutter for its precision, and I highly recommend testing your settings on a scrap piece of wood before cutting your final design. Wood thickness can vary, and even though I used 3mm plywood, not all sheets are created equal. It’s always a good idea to test the cutter on a sample piece first to ensure everything goes smoothly.
Step 3: Add Festive Ribbon
Once your ornaments are cut and ready to go, it’s time to add a festive touch. Attach a piece of your favorite ribbon, jute, or twine to each ornament. This adds a lovely finishing touch and makes them ready to hang on your tree or give as gifts.
You can even match the ribbon to your tree’s theme—think red and green for a classic look, or metallic tones for a chic, modern vibe. The choice is yours!
The Final Touch: Personalize Your Tree
And there you have it—beautiful, family-themed wooden ornaments that bring a touch of warmth and love into your home. These ornaments aren’t just decoration; they’re reminders of the things we cherish most during the holiday season. Whether you hang them on your tree, use them as gift tags, or give them as thoughtful handmade gifts, they’re sure to make your holiday season extra special.
Do you plan on making these ornaments or other seasonal projects? Share your thoughts or creations in the comments below!
Happy Crafting and Merry Holidays! 🎄✨

