
When autumn rolls around, there’s one iconic symbol that comes to mind: pumpkins. From the big, bold orange ones that you pick out at the patch to carving them into Jack ‘o’ lanterns for Halloween, pumpkins are a beloved part of the season. But why limit them to just the front porch? This year, why not bring pumpkins indoors and incorporate them into your seasonal décor? Trust me, it’s a fun and creative way to celebrate fall!
Why Pumpkins Are Perfect for Fall Décor
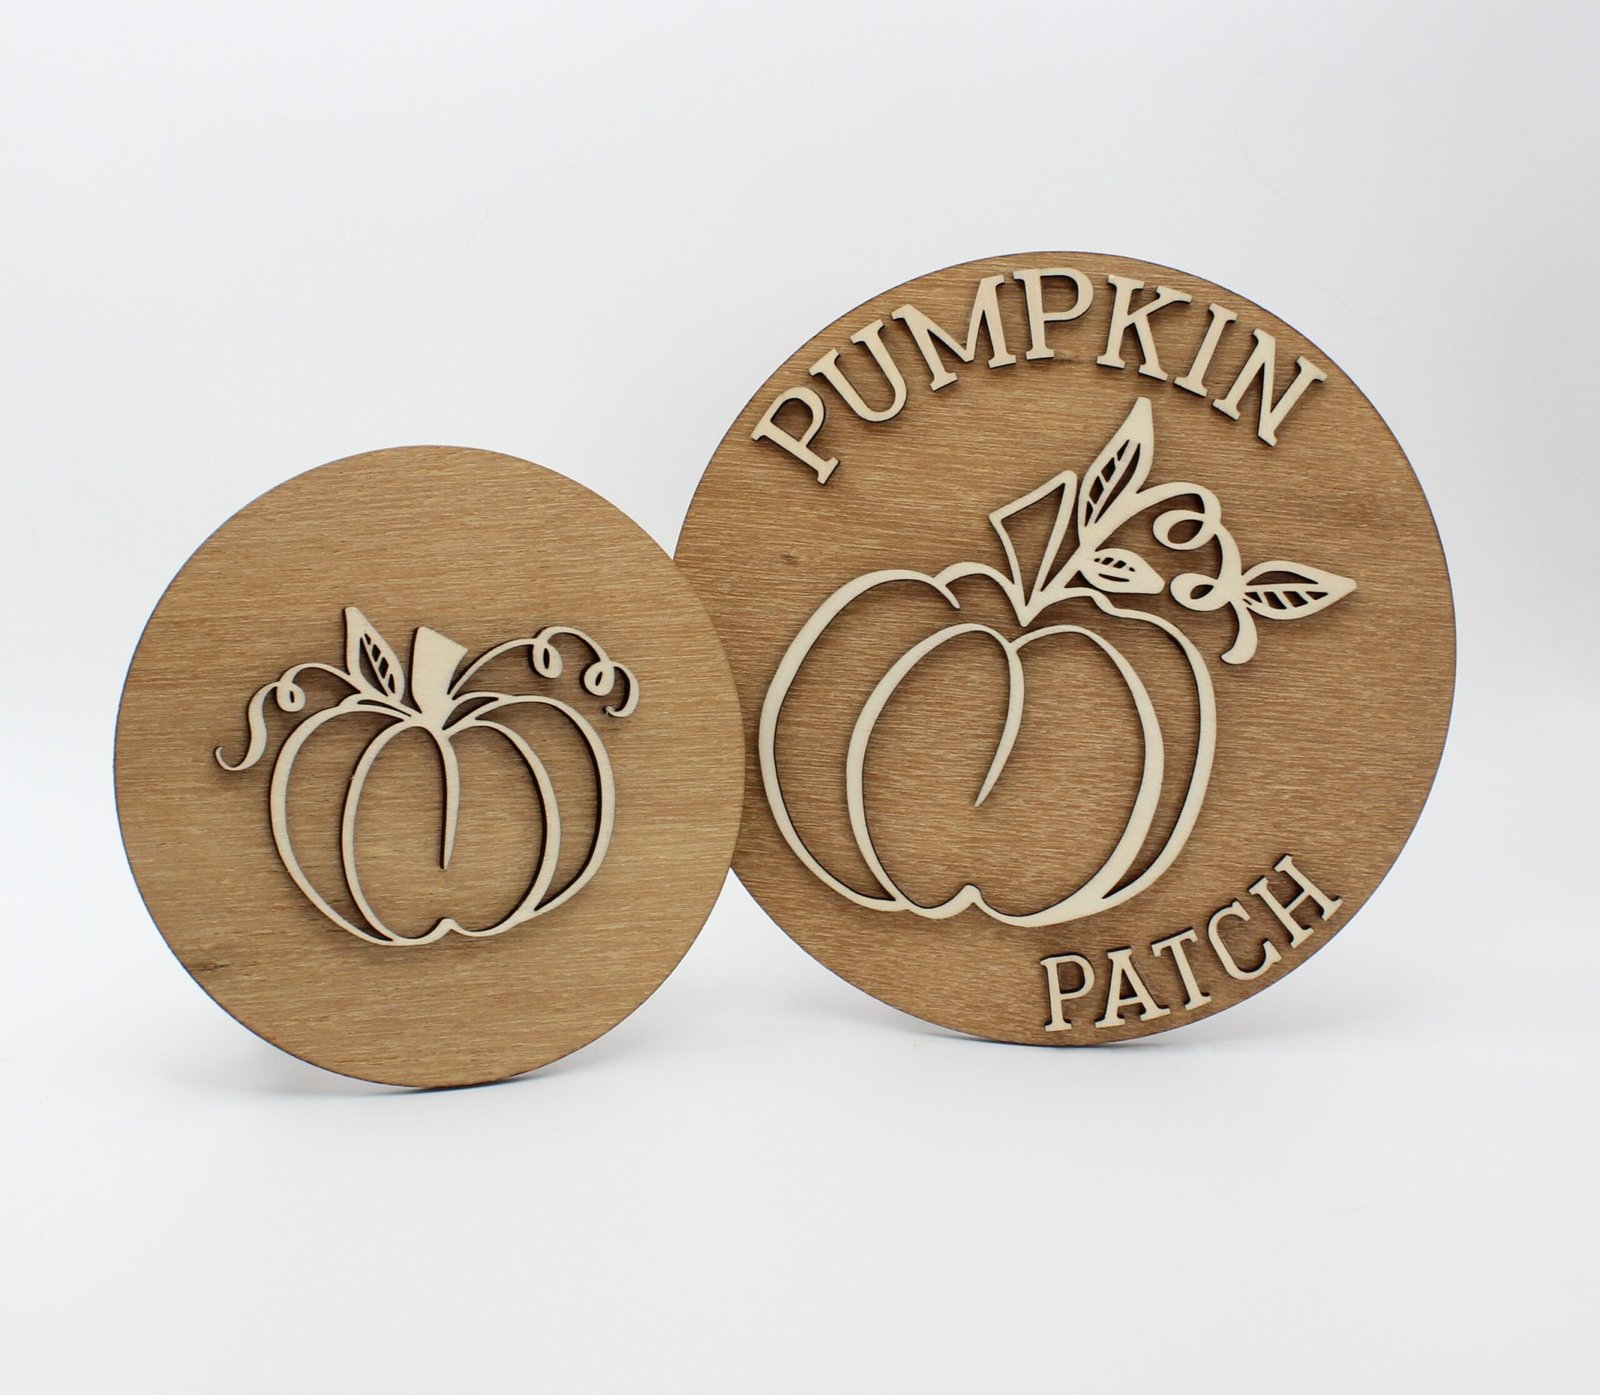
These pumpkin-shaped crafts can add the perfect touch of autumn charm to any room. You can create a variety of sizes and group them together, mixing and matching with golden leaves, deep reds, and rustic browns that capture the essence of the season. The best part? They’re completely customizable to fit any space and aesthetic.
DIY Pumpkin Craft: How to Make Your Own
If you’re ready to get your hands on some woodwork and create your own pumpkin décor, here’s how I made mine, step by step!
Materials You’ll Need:
- 3mm Plywood (perfect for a light and sturdy build)
- Brown Mahogany Water-Based Stain (for that rich, warm autumn color)
- Clear Finish (optional, but highly recommended for durability)
- Laser Cutter (I used the XTool M1 10w)
- PVA Wood Glue
- Hanging Hardware or Stand Templates (depending on how you want to display them)
Step 1: Stain the Wood
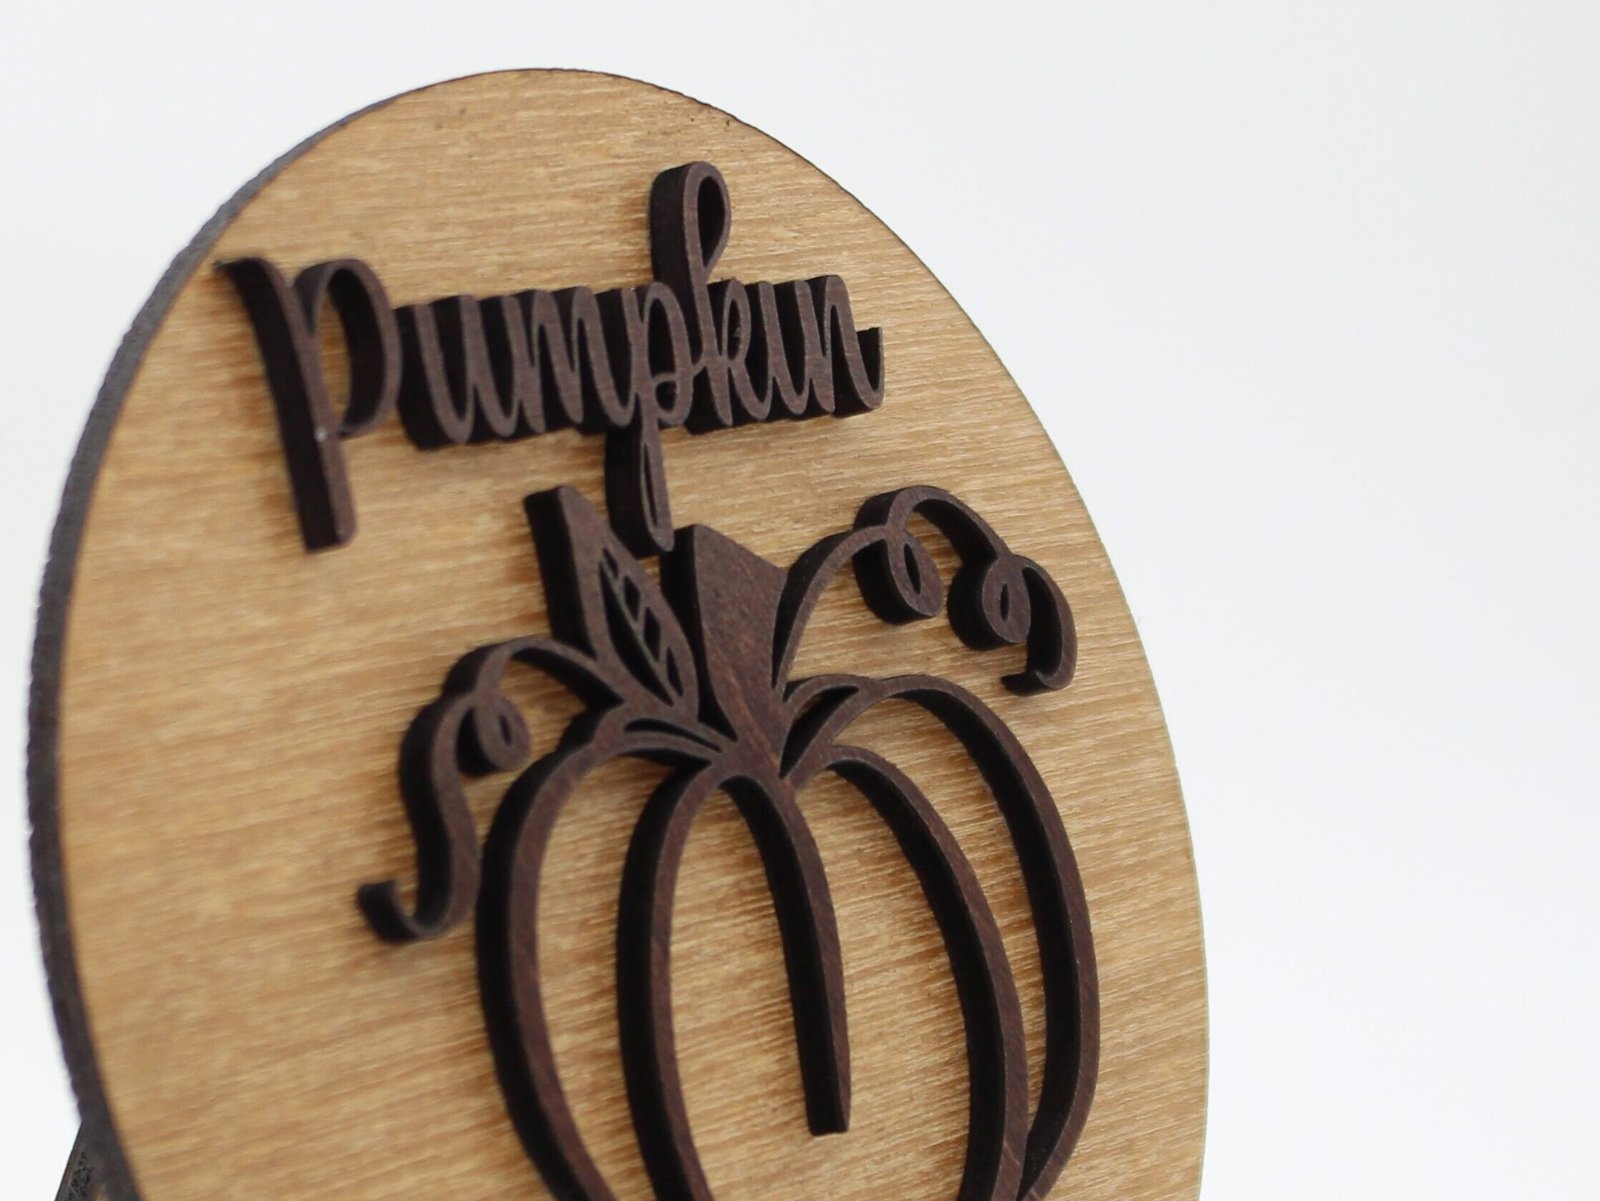
I started with a sheet of 3mm plywood, which is the perfect thickness for this project. The first thing I did was stain the wood using my favorite General Finishes Brown Mahogany Water-Based Stain. (Pro tip: I always buy mine from my local woodworking shop!) The stain gives the pumpkins that deep, rich color that instantly says fall.
Once the stain is applied, I typically add a clear finish for a smooth, durable surface. This step is key, as it prevents any stains or marks from sticking later when I start working with the laser. Trust me, it’s worth the extra step for a neat finish.
Step 2: Cutting with the Laser
Now comes the fun part—cutting out your pumpkins! I used the XTool M1 10w laser cutter, which provides precision and clean cuts. I could share the exact settings I used, but the thing with wood is that thickness can vary, so it’s important to test your settings before cutting out the entire design. Even though I used 3mm plywood, not all 3mm plywood sheets are created equal. Test with a scrap piece first to avoid any mishaps!
Step 3: Assemble the Pumpkins
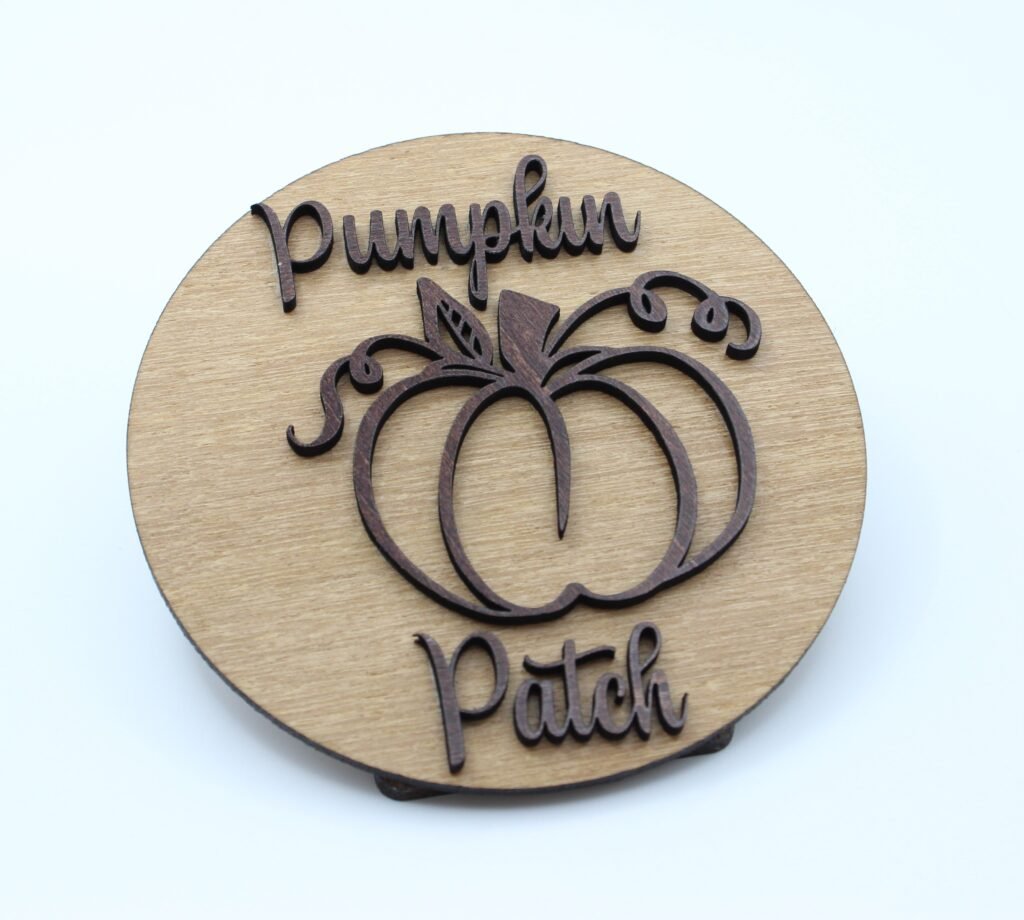
Once everything is cut, it’s time to assemble! For this, I used PVA wood glue to stick the pieces together. It’s as simple as it sounds. Just glue, press, and hold. If you want to give your pumpkins a little more stability or make them stand on their own, just cut out a stand design to complement the base. Want to hang them instead? No worries! Simply cut a small slot at the top of each pumpkin and add a hook or string.

The Final Touch
And there you have it—DIY pumpkins to bring a warm, fall-inspired touch into your home. Whether you display them on a mantle, use them as a centerpiece, or hang them on your walls, these pumpkins are sure to add a festive and personal flair to your décor. With a little creativity and a few simple steps, you can create a seasonal décor that will last long after Halloween is over.
So, this fall, skip the usual store-bought décor and get crafty with these fun and easy pumpkin projects. Your home will thank you for it!
Do you plan on making these pumpkins or other seasonal projects? Share your thoughts or creations in the comments below!